Build a Perfect Blog with FastAPI: Visitor Analytics
Ethan Miller
Product Engineer · Leapcell
In a previous article, we integrated a full-text search feature into our blog, making it easier to find great content.
Now, as your blog becomes more feature-rich and your content grows, a new question naturally arises: which articles are most popular with readers?
Understanding your readers' interests can help you create higher-quality content.
Therefore, in this tutorial, we will add a basic but very important feature to our blog: visitor tracking. We will record the number of times each article is read and display the view count on the page.
You might consider using a third-party service like Google Analytics. However, building a backend-driven tracking system ourselves allows us to keep more data in our own hands and customize what data we want to collect.
Let's get started:
Step 1: Create the Data Model for Page Views
1. Create the Database Table
Execute the following SQL statement in your PostgreSQL database to create the pageview table. This table will record the time of each view, the corresponding post, and some visitor information (like IP address and User Agent) for future in-depth analysis.
CREATE TABLE "pageview" (
    "id" UUID PRIMARY KEY DEFAULT gen_random_uuid(),
    "createdAt" TIMESTAMPTZ NOT NULL DEFAULT NOW(),
    "postId" UUID REFERENCES "post"("id") ON DELETE CASCADE,
    "ipAddress" VARCHAR(45),
    "userAgent" TEXT
);
Note: ON DELETE CASCADE ensures that when a post is deleted, all its related page view records are also automatically cleared.
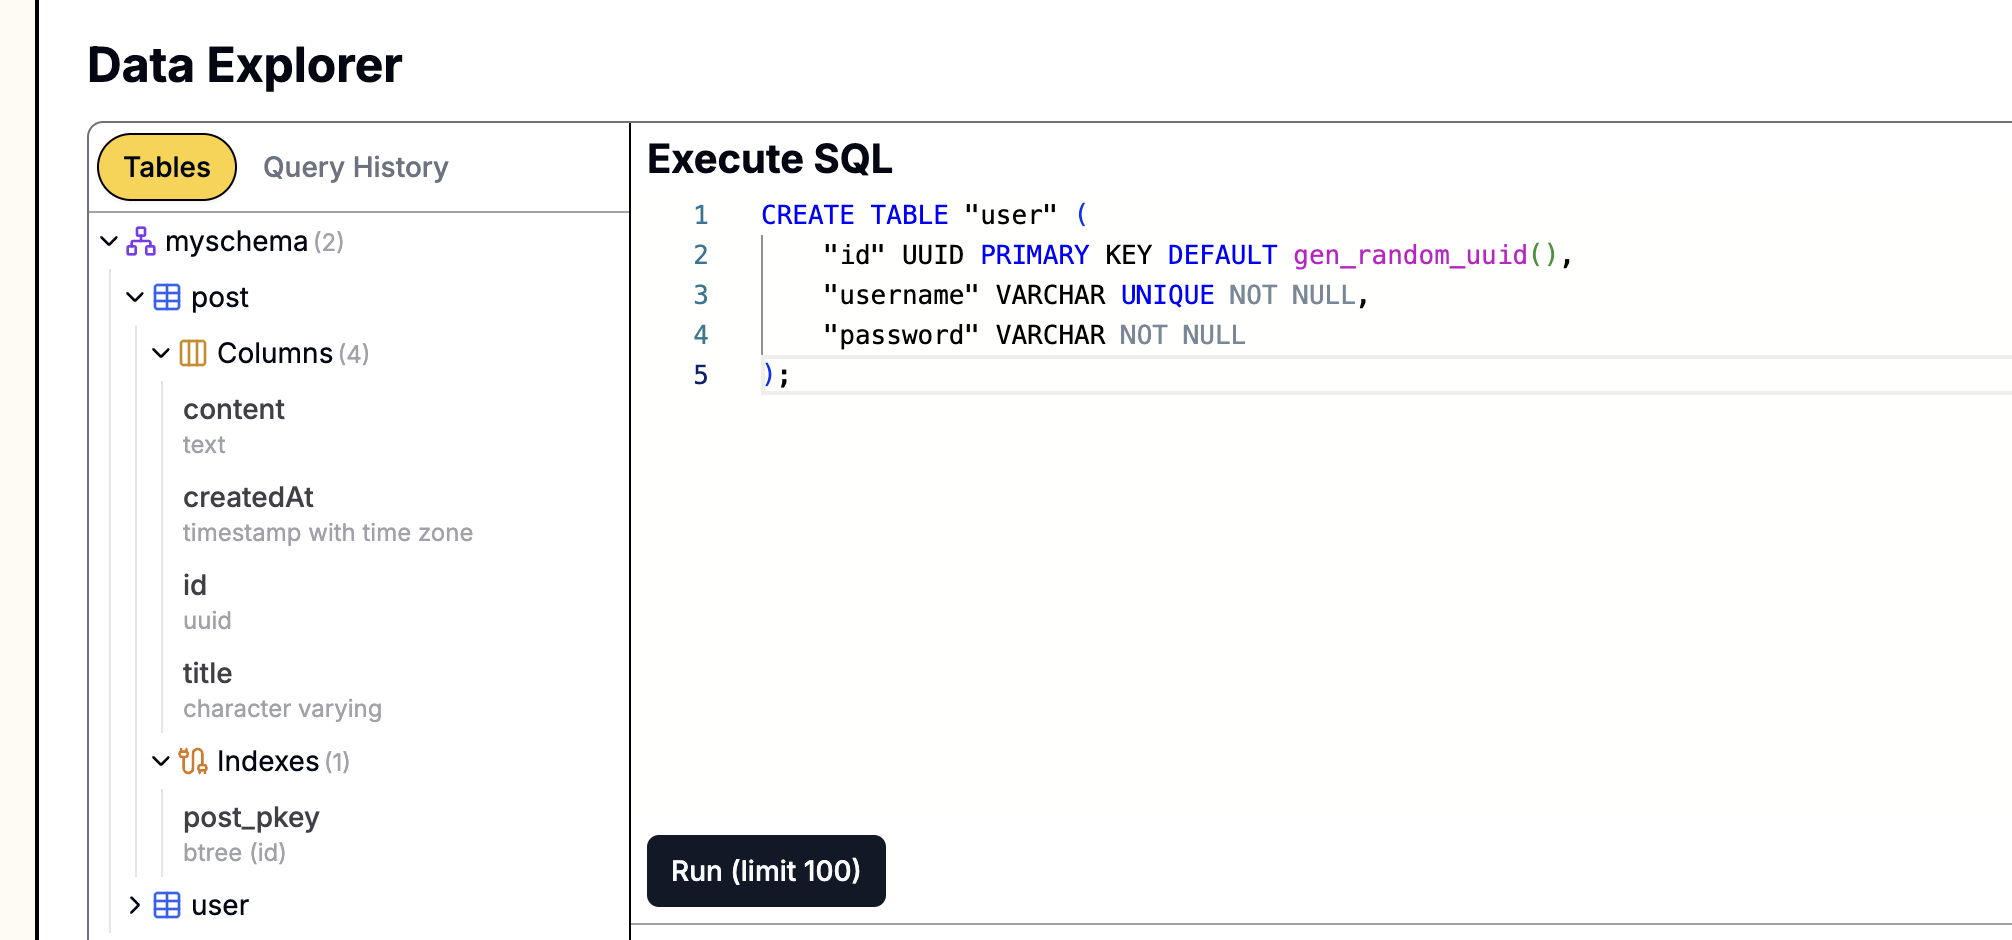
If your database is created on Leapcell,

you can easily execute SQL statements using the graphical interface. Just go to the Database management page of the website, paste the above statement into the SQL interface, and execute it.
2. Create the PageView Entity
Next, open the models.py file, add the PageView model, and update the Post model to establish a bidirectional relationship.
# models.py
import uuid
from datetime import datetime
from typing import Optional, List
from sqlmodel import Field, SQLModel, Relationship

# ... User Class ...

class Post(SQLModel, table=True):
    id: Optional[uuid.UUID] = Field(default_factory=uuid.uuid4, primary_key=True)
    title: str
    content: str
    createdAt: datetime = Field(default_factory=datetime.utcnow, nullable=False)
    comments: List["Comment"] = Relationship(back_populates="post")

    # Add a one-to-many relationship with PageView
    page_views: List["PageView"] = Relationship(back_populates="post")

# ... Comment Class ...

class PageView(SQLModel, table=True):
    id: Optional[uuid.UUID] = Field(default_factory=uuid.uuid4, primary_key=True)
    createdAt: datetime = Field(default_factory=datetime.utcnow, nullable=False)
    ipAddress: Optional[str] = Field(max_length=45, default=None)
    userAgent: Optional[str] = Field(default=None)

    # Define the foreign key, linking to the Post table
    postId: uuid.UUID = Field(foreign_key="post.id")

    # Define the many-to-one relationship
    post: "Post" = Relationship(back_populates="page_views")
Since we configured the create_db_and_tables function in main.py, SQLModel will automatically detect model changes and update the database table structure when the application starts, so we don't need to execute SQL manually.
Step 2: Implement the Tracking Service
To keep the code clean, we'll create a new service file for the page view tracking functionality.
Create a new file tracking_service.py in the project's root directory to handle all logic related to page views.
# tracking_service.py
import uuid
from typing import List, Dict
from sqlmodel import Session, select, func
from models import PageView

def record_view(post_id: uuid.UUID, ip_address: str, user_agent: str, session: Session):
    """Records a new page view"""
    new_view = PageView(
        postId=post_id,
        ipAddress=ip_address,
        userAgent=user_agent,
    )
    session.add(new_view)
    session.commit()

def get_count_by_post_id(post_id: uuid.UUID, session: Session) -> int:
    """Gets the total view count for a single post"""
    statement = select(func.count(PageView.id)).where(PageView.postId == post_id)
    # .one() or .one_or_none() is required for queries that return a single scalar value
    count = session.exec(statement).one_or_none()
    return count if count is not None else 0

def get_counts_by_post_ids(post_ids: List[uuid.UUID], session: Session) -> Dict[uuid.UUID, int]:
    """For efficiency, gets view counts for multiple posts at once"""
    if not post_ids:
        return {}

    statement = (
        select(PageView.postId, func.count(PageView.id).label("count"))
        .where(PageView.postId.in_(post_ids))
        .group_by(PageView.postId)
    )

    results = session.exec(statement).all()

    # Convert the results to a dictionary of {post_id: count} format
    return {post_id: count for post_id, count in results}
The
get_counts_by_post_idsmethod uses SQLModel's (SQLAlchemy's)func.countandgroup_byto execute an efficientGROUP BYquery. This is much faster than executing a separatecountquery for each post, especially when the homepage needs to display view counts for multiple articles.
Step 3: Integrate View Recording on the Article Page
Next, we need to call the record_view method of the tracking_service every time a visitor views a post. The most suitable place for this is the get_post_by_id route in routers/posts.py.
Open routers/posts.py, import the new service, and call it.
# routers/posts.py
# ... other imports
import tracking_service # Import the tracking service

# ...

@router.get("/posts/{post_id}", response_class=HTMLResponse)
def get_post_by_id(
    request: Request,
    post_id: uuid.UUID,
    session: Session = Depends(get_session),
    user: dict | None = Depends(get_user_from_session),
):
    post = session.get(Post, post_id)
    if not post:
        # Handle post not found
        return HTMLResponse(status_code=404)

    comments = comments_service.get_comments_by_post_id(post_id, session)

    # Record a view (Fire-and-forget)
    client_ip = request.client.host
    user_agent = request.headers.get("user-agent", "")
    tracking_service.record_view(post_id, client_ip, user_agent, session)

    # Get the view count
    view_count = tracking_service.get_count_by_post_id(post_id, session)

    # Parse Markdown content
    post.content = markdown2.markdown(post.content)

    return templates.TemplateResponse(
        "post.html",
        {
            "request": request,
            "post": post,
            "title": post.title,
            "user": user,
            "comments": comments,
            "view_count": view_count, # Pass the view count to the template
        },
    )
Step 4: Display View Counts on the Frontend
Article Detail Page
In the previous step, we already retrieved the view_count and passed it to the post.html template. Now we just need to display it in the template.
Open templates/post.html and add the view count in the post's meta-information area:
<article class="post-detail">
  <h1>{{ post.title }}</h1>
  <small>{{ post.createdAt.strftime('%Y-%m-%d') }} | Views: {{ view_count }}</small>
  <div class="post-content">{{ post.content | safe }}</div>
</article>
Blog Homepage
To also display the view counts in the post list on the homepage, we need to make some adjustments to the get_all_posts route.
Update routers/posts.py:
# routers/posts.py
# ...

@router.get("/posts", response_class=HTMLResponse)
def get_all_posts(
    request: Request,
    session: Session = Depends(get_session),
    user: dict | None = Depends(get_user_from_session)
):
    # 1. Get all posts
    statement = select(Post).order_by(Post.createdAt.desc())
    posts = session.exec(statement).all()

    # 2. Get the IDs of all posts
    post_ids = [post.id for post in posts]

    # 3. Batch get the view counts
    view_counts = tracking_service.get_counts_by_post_ids(post_ids, session)

    # 4. Attach the view count to each post object
    for post in posts:
        post.view_count = view_counts.get(post.id, 0)

    return templates.TemplateResponse(
        "index.html",
        {
            "request": request,
            "posts": posts,
            "title": "Home",
            "user": user
        }
    )

# ...
Finally, update the templates/index.html template to display the view counts.
<div class="post-list">
  {% for post in posts %}
  <article class="post-item">
    <h2><a href="/posts/{{ post.id }}">{{ post.title }}</a></h2>
    <p>{{ post.content[:150] }}...</p>
    <small>{{ post.createdAt.strftime('%Y-%m-%d') }} | Views: {{ post.view_count }}</small>
  </article>
  {% endfor %}
</div>
Run and Test
Restart your application:
uvicorn main:app --reload
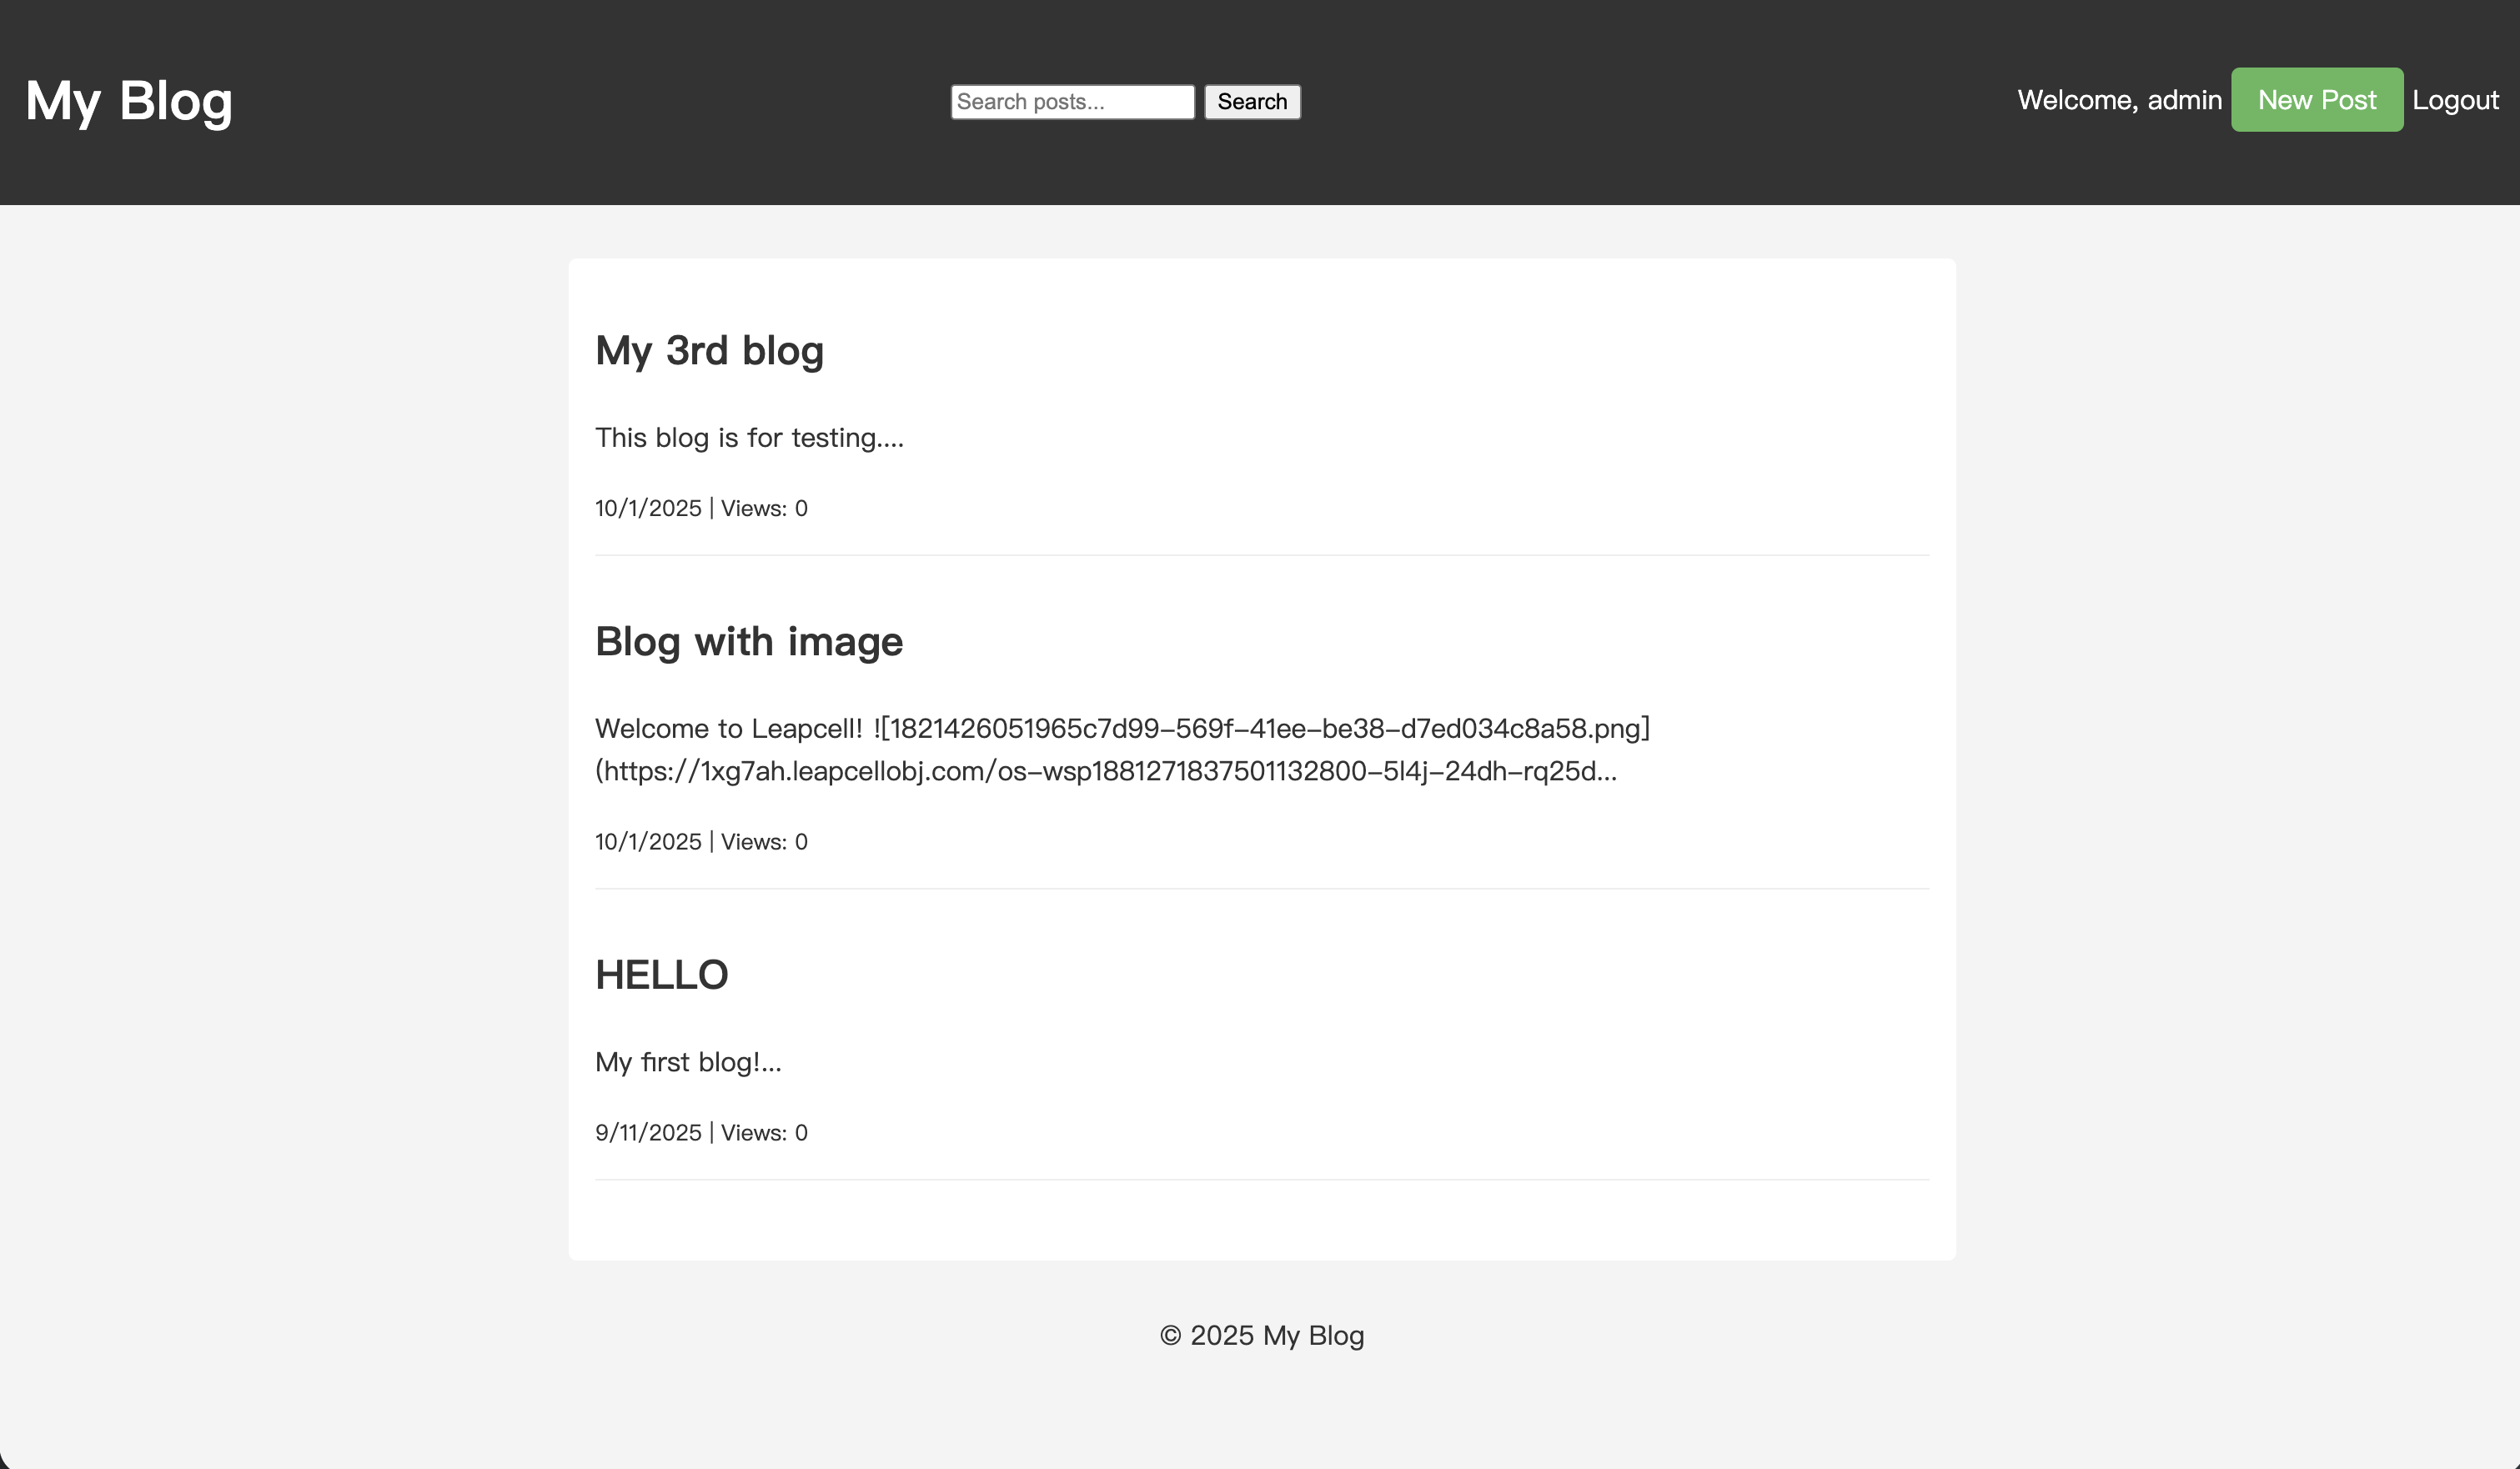
Open your browser and navigate to your blog's homepage.
In the blog list, you will see "Views: 0" next to each post.
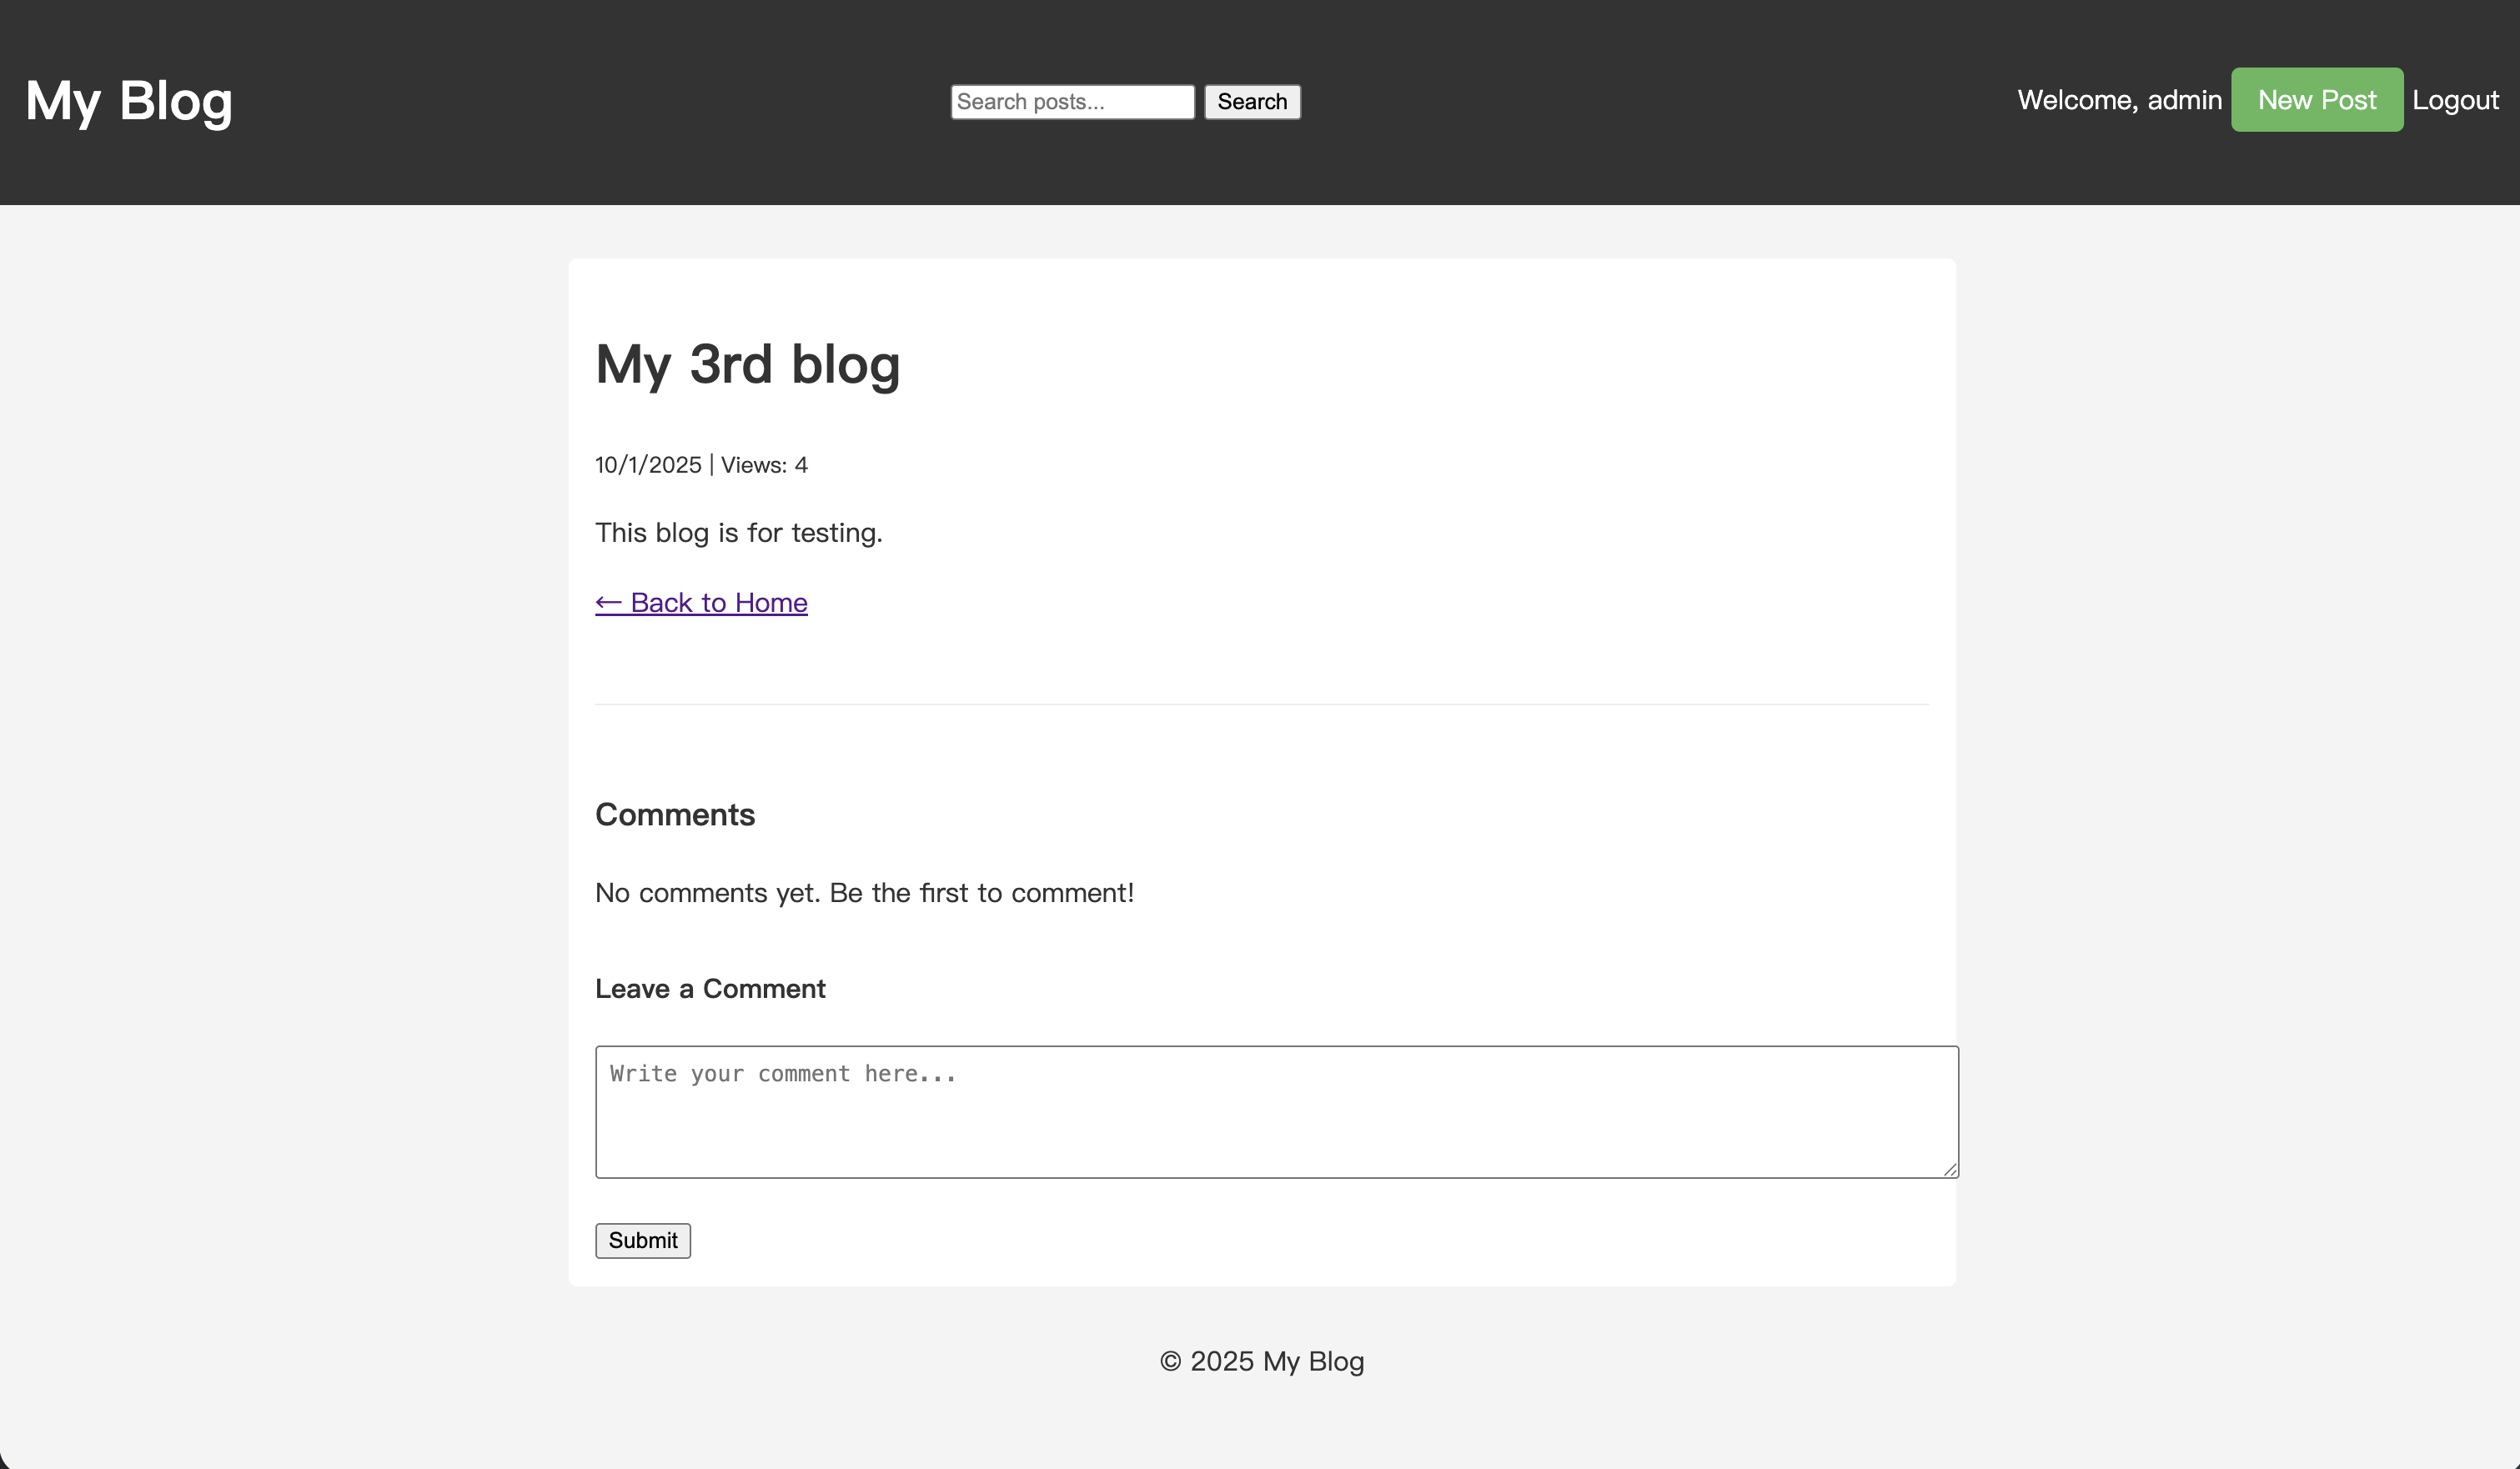
Click to enter any article's detail page and refresh the page a few times. You will notice that the view count for this article has increased accordingly.
Conclusion
You have now successfully added a backend view count tracking system to your FastAPI blog. Your user visit data is now in your hands.
With this raw data, you can perform more in-depth data operations and analysis. For example:
- Deduplication: Count multiple visits from the same IP address within a certain time window (e.g., one day) as a single view.
- Filtering Bots: Identify and filter out visits from search engine crawlers by analyzing the
User-Agent. - Data Dashboard: Create a private page to visualize article view trends with charts.
The data is in your hands, so we'll leave these explorations up to you.
If your blog is deployed on Leapcell, Leapcell has already automatically enabled its Web Analytics feature for it (which is completely free).
Leapcell's Web Analytics includes many useful and powerful visitor analysis capabilities. Using it, you can easily perform basic analysis of visitor behavior without the hard work of developing it yourself.
